
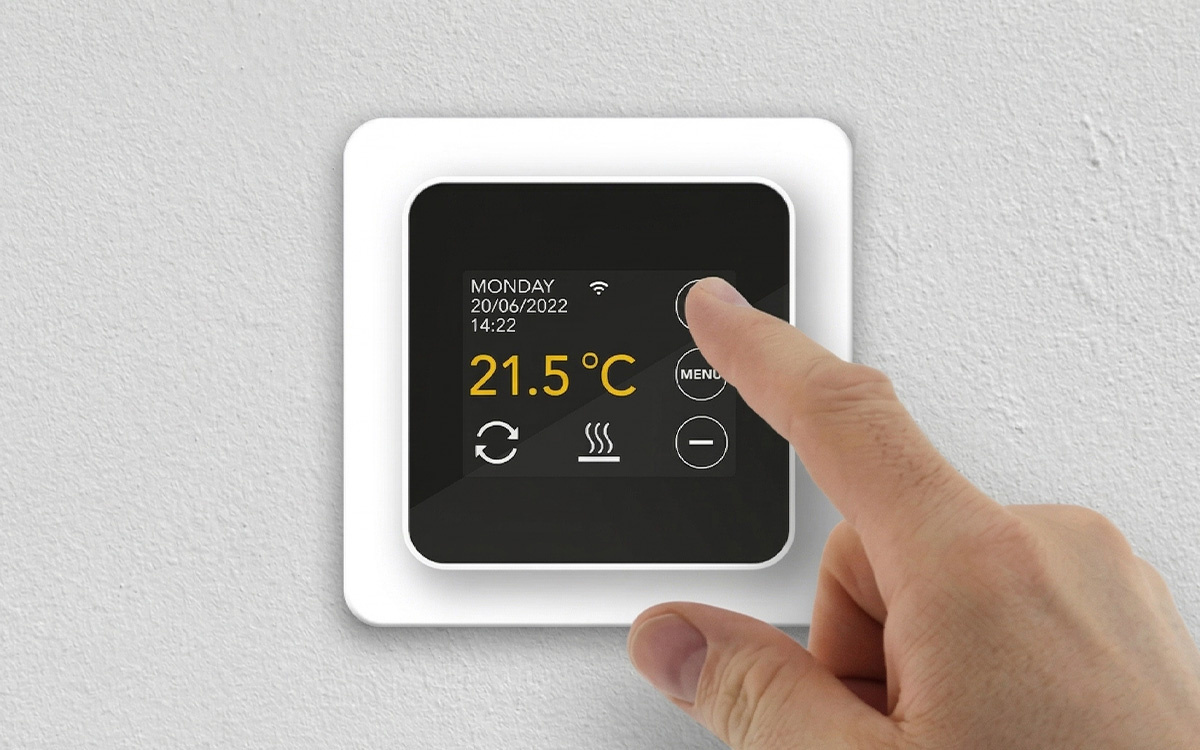
How to Connect an Electric Underfloor Heating Thermostat
Connecting an Electric Underfloor Heating Thermostat (Step-by-Step Guide)
Connecting a thermostat for electric underfloor heating is a manageable DIY task, but it does require careful attention. After all, you're working with electricity, and safety is essential.
In this guide, we'll walk you through the entire installation process step by step—from identifying the wires to configuring the thermostat. Watch the video for a visual overview, or read the full instructions below and get started right away.
What You'll Need
Before you begin, make sure you have the following:
-
Thermostat for electric underfloor heating
-
Screwdriver
-
Protective gloves
-
Thermostat installation manual
Step 1: Turn Off the Power
Safety is the most important consideration when connecting a thermostat.
Before touching any wires, switch off the power at the consumer unit (fuse box) for the circuit you'll be working on. Then use a voltage tester to confirm that there is no power present.
IMPORTANT: Wear protective gloves while carrying out the installation. It may seem excessive, but accidental electric shocks can happen if you assume the power is already off.
Step 2: Locate and Identify the Wires
With the power switched off, locate the wires inside the wall box.
For an electric underfloor heating thermostat, you'll typically encounter the following connections:
-
L (Live, brown or black): Power supply from the consumer unit
-
N (Neutral, blue): Neutral supply from the consumer unit
-
L1 (Live output to the heating mat, brown): Power supply to the heating mat
-
N1 (Neutral output to the heating mat, blue): Neutral return from the heating mat
-
Earth (green/yellow): Earth wire from the heating mat
Not sure which wire is which?
Always consult the thermostat manual or installation documentation. Guessing is never a good idea when working with electrical systems.
Step 3: Connect the Wires
Once you've identified all wires, connect them to the thermostat.
The exact terminal labels may vary depending on the thermostat model, but the general wiring configuration is as follows:
-
Connect the L wire to the L (Live) terminal on the thermostat
-
Connect the N wire to the N (Neutral) terminal
-
Connect the L1 wire from the heating mat to the L1 output
-
Connect the N1 wire from the heating mat to the N1 output
-
Connect the earth wire from the heating mat to the wall earth connection (green/yellow)
Always follow the instructions provided with your specific thermostat, as terminal designations may differ between manufacturers and models.
Step 4: Install the Floor Sensor
The floor sensor measures the floor temperature and ensures that the thermostat switches the heating on and off at the correct times.
Without a properly installed sensor, temperature regulation will not function correctly.
Position the sensor midway between two heating cables within the floor. This allows it to measure the average floor temperature rather than the temperature directly beside a heating cable.
Connect the sensor wire to the designated sensor terminals on the thermostat, typically marked as terminals 6 and 7. Always verify this in the thermostat manual.
Installing Before Leveling?
If the floor has not yet been leveled, place the sensor inside a protective conduit. This allows the sensor to be replaced in the future without having to break open the floor.
Step 5: Check All Connections
Before restoring power, inspect every connection carefully.
Gently tug each wire to ensure it is firmly secured in its terminal.
Loose connections can lead to:
-
System malfunctions
-
Overheating
-
Electrical hazards
Also check that no exposed copper conductors are visible outside the terminals.
Only proceed when you are confident that all connections are secure and correctly installed.
Step 6: Restore Power and Configure the Thermostat
Switch the power back on at the consumer unit.
The thermostat should now power up.
Configure the thermostat according to your preferences using the user manual:
-
Desired floor temperature
-
Heating schedule
-
Night mode or energy-saving settings
Next, test the heating system.
Set the target temperature higher than the current floor temperature and wait a few minutes.
If the floor begins to warm up, the installation has been completed successfully.
Frequently Asked Questions About Connecting a Thermostat
Which Wires Do I Need for an Electric Underfloor Heating Thermostat?
At a minimum, you will typically need five wires:
-
L (Live supply)
-
N (Neutral supply)
-
L1 (Live to the heating mat)
-
N1 (Neutral to the heating mat)
-
Earth
Some thermostats also require separate terminals for the floor sensor.
Where Do I Connect the Floor Sensor?
The floor sensor connects to the thermostat's sensor terminals, often labelled 6 and 7.
Consult your thermostat manual to confirm the correct terminals.
Can I Connect the Thermostat Myself?
In most cases, yes—provided a wall box and power supply are already installed.
If a new circuit needs to be installed or additional wiring work is required, you should hire a qualified electrician.
My Thermostat Doesn't Work After Installation. What Should I Do?
First, check that:
-
The power supply is switched on
-
The correct circuit breaker is active
Then inspect all wiring connections again to ensure they are secure and correctly positioned.
If the resistance reading of the heating mat differs significantly from the original measurement, the issue may be with the heating mat itself.
Which Thermostat Is Suitable for My Underfloor Heating System?
The right thermostat depends on the power rating of the heating mat and your preferred control options.
Browse our range of thermostats to compare all available models and features.
Ready to Get Started?
With this guide and the installation video above, you have everything you need to connect your thermostat with confidence.
Don't have a thermostat or heating mat yet? Browse our range of products and choose the solution that best suits your project.


