
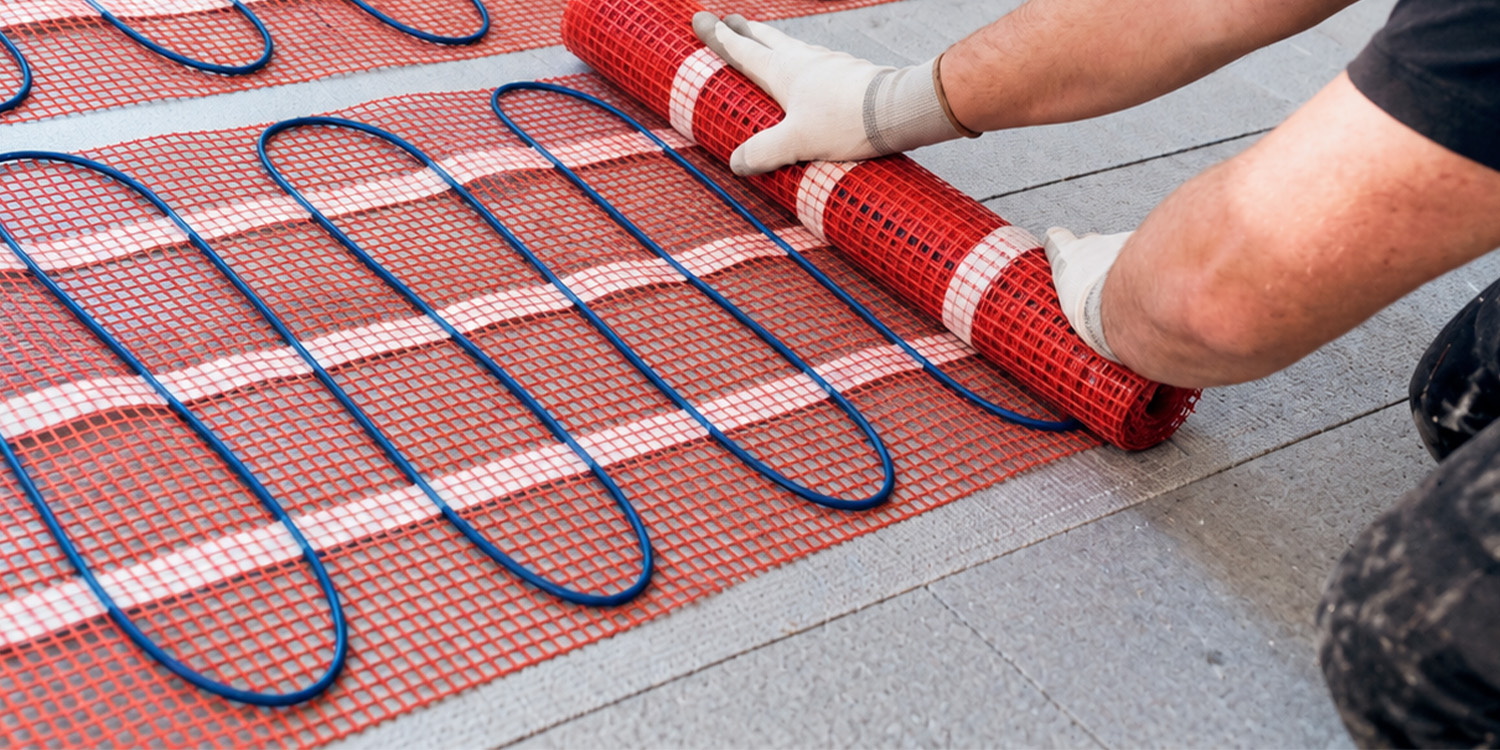
Insulation under electric underfloor heating: is it necessary?
You want a warm floor without a long wait and without using more electricity than necessary. Then don't just look at the heating mat and the thermostat, but also at what lies underneath the heating.
The short answer: electric underfloor heating also works without extra insulation. If the mat is laid on a cold concrete or screed floor, we still recommend an insulating layer directly under the heating mat. The floor then warms up faster and you lose less heat downwards.
You want to heat the floor, not the subfloor
A heating cable gives off heat to everything around it: to the floor finish, but also to the subfloor. A concrete floor acts like a cold sponge. Stone is heavy, conducts heat well and absorbs a lot of heat that was actually meant for your feet.
To illustrate: a 5 cm cement screed weighs roughly 100 kilos per square metre. Raising that layer by 10 degrees takes about 0.25 kWh, which is one and a half to two hours of full output from a 150 W/m² mat. Not all the heat goes downwards, but it shows why a floor without insulation responds slowly.
Insulation boards between the subfloor and the mat slow that heat flow considerably. More than you would expect from their thickness: in terms of thermal resistance, a few millimetres of XPS comes close to several tens of centimetres of concrete.
When is insulation under the heating mat really necessary?
That mainly depends on what is underneath your floor.
| Situation | Our advice | Why |
|---|---|---|
| Concrete ground floor without floor insulation, or above a crawl space, basement or garage | Strongly recommended, preferably 10 mm | This is where you lose the most heat to a cold subfloor. |
| Concrete ground floor with floor insulation (newer home) | Recommended, 6 mm is often enough | The insulation sits deep in the floor. The screed above it still has to warm up. |
| Upper floor above a heated room | Recommended | The heat does not leave the house, but it goes to the wrong room. And the floor responds more slowly. |
| New tiled floor over an existing tiled floor | Recommended if the build-up height allows | Old tiles plus screed mean extra mass that has to warm up as well. |
| Wooden subfloor | Different build-up needed | Ask us about the right build-up. |
Even with an insulated floor, the screed is a heat buffer
"My house already has floor insulation, so I don't need anything extra." That is only half true. In most homes the floor insulation sits below or within the structural floor. The screed on top of it therefore sits between the insulation and your heating mat, and has to come up to temperature every time the heating starts.
In such a home the energy benefit of extra insulation is smaller, but most of the benefit in heat-up speed remains. The reverse is also true: a thin 6 or 10 mm board does not turn an uninsulated ground floor into a well-insulated one. Is the whole floor being renewed? Then also look at insulating the floor structure itself.
Warm feet, faster
Especially in the bathroom, a quick heat-up is a pleasure. Based on our practical experience, we estimate that a floor with insulation boards directly under the heating mat warms up around 20 to 30% faster than a comparable floor without them.
Note: heating up faster and saving energy are different benefits. A floor that warms up 30% faster does not automatically use 30% less electricity.
[products=xps_isolatieplaten]
How much energy can you save?
Based on our practical experience, we use an indicative saving of around 20% with Pro-Board 6 mm and 30% with Pro-Board 10 mm, compared with the same floor without insulation boards under the mat. As with the heat-up time, these are practical estimates, not measured or guaranteed values.
The mat itself does not get a lower output. The saving comes from less heat flowing downwards, so the thermostat has to switch the heating on for less time to deliver the same comfort.
Make sure your thermostat captures the saving
Do you use a programmable Wi-Fi thermostat with a weekly schedule? After a few weeks, check how quickly the floor reaches its temperature. If it warms up faster than you set it for, move the start time later. Every quarter of an hour less pre-heating is electricity you don't use.
What does that mean in euros?
All you need is the total output of your underfloor heating. A 10 m² mat at 150 W/m², for example, has an output of 1,500 watts. We calculate with 4 heating hours at full output per day, 200 heating days per year and €0.30 per kWh.
| Total output | Consumption without extra insulation | Cost without extra insulation | Saving 6 mm (20%) | Saving 10 mm (30%) |
|---|---|---|---|---|
| 500 W | 400 kWh | €120 | €24.00 | €36.00 |
| 1,000 W | 800 kWh | €240 | €48.00 | €72.00 |
| 1,500 W | 1,200 kWh | €360 | €72.00 | €108.00 |
| 2,000 W | 1,600 kWh | €480 | €96.00 | €144.00 |
| 2,500 W | 2,000 kWh | €600 | €120.00 | €180.00 |
| 3,000 W | 2,400 kWh | €720 | €144.00 | €216.00 |
Per 100 watts of output, the saving in this example is €4.80 (6 mm) or €7.20 (10 mm) per year. This is a worked example, not a forecast of your energy bill. Because the thermostat switches off in between once the floor is warm, your actual consumption may be lower.
How quickly do the insulation boards pay for themselves?
Insulation is bought per square metre, so we calculate the payback time per output per m².
| Output per m² | Pro-Board 6 mm (€19 per m²) | Pro-Board 10 mm (€21 per m²) |
|---|---|---|
| 100 W/m² | approx. 4.0 years | approx. 2.9 years |
| 150 W/m² | approx. 2.6 years | approx. 1.9 years |
| 200 W/m² | approx. 2.0 years | approx. 1.5 years |
Calculated with the same number of m² of insulation as heated area. Adhesive, labour, cutting waste and rounding up to full packs are not included.
Example: for 10 m² at 150 W/m² you pay €190 (6 mm) or €210 (10 mm). With a saving of €72 or €108 per year, you earn that back in about 2.6 or 1.9 years. So the thicker board pays for itself faster: €2 per m² more, but one and a half times the saving. Do you have the build-up height? Then 10 mm is often the smartest choice.
If you heat for fewer hours, payback takes longer. With a higher electricity price it goes faster. The outputs in the table are not advice to choose a more powerful mat. Not sure which output suits your room? Contact us and we will help you choose.
What should you pay attention to when installing?
Not every insulation board is suitable. A mat embedded in tile adhesive or self-levelling compound needs a firm base that the adhesive bonds to well. That is why Pro-Board has a cement coating. Soft underlays such as those used for laminate are not designed for this. For heating foil under laminate you use a different type, also available among our insulation boards.
- Start with a level, clean, dry and sufficiently firm subfloor and follow the installation instructions.
- Lay the boards across the whole floor, including where there is no mat. That way you tile over one level surface. So order slightly more boards than the heated area.
- Fully embed the mat in suitable tile adhesive or self-levelling compound. Choosing PVC? Then check that the floor covering is suitable for underfloor heating and what the maximum temperature is.
- In a bathroom, make sure seams, corners and connections are properly waterproofed. Water-resistant boards do not automatically make the whole floor build-up watertight.
For a step-by-step explanation, see our guide installing electric underfloor heating yourself.
You only get one chance to insulate properly
You can always replace a thermostat later, but not the base. Once the new floor is down, you can't add the insulation layer without ripping everything out. Especially over a cold concrete or screed floor, we therefore recommend including the insulation right away.


